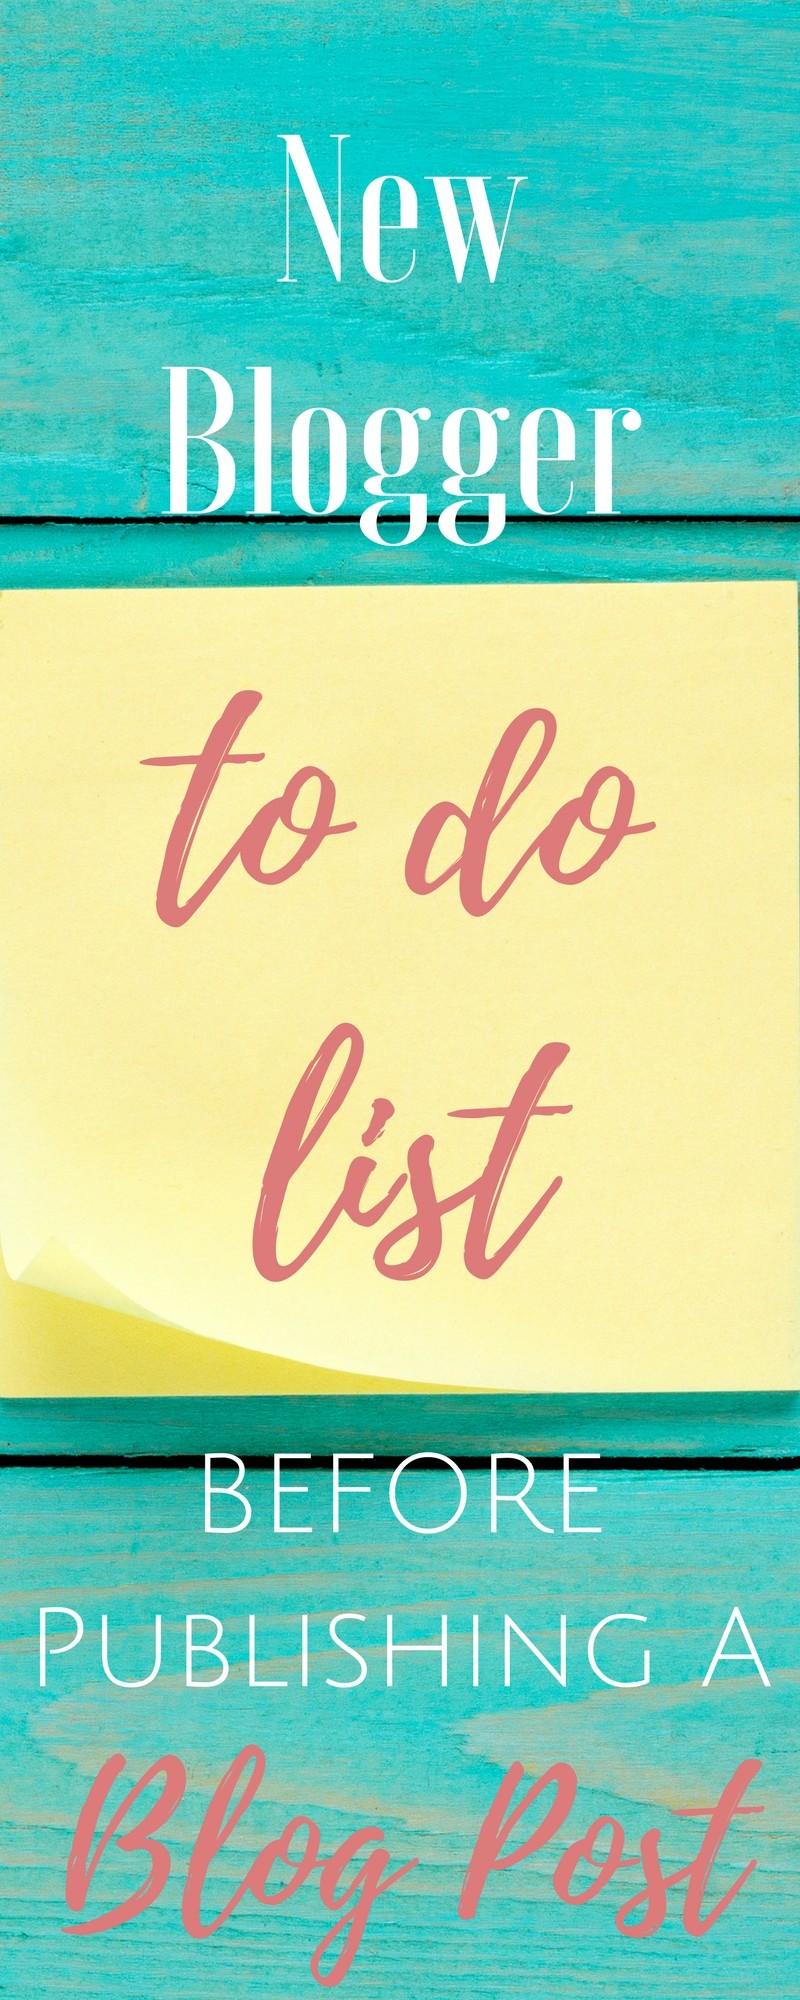
Before publishing a blog post there’s a number of things that are going through your head. Then…you hit the publish button AND the bottom drops out. You realize that 10 different things still hadn’t been done. You know who you are (me!).
I’ll walk you through some of the key learnings I’ve had blogging and hopefully save you some time before publishing a blog post.
1. Create Pinterest Pin (different description if you have rich pins)
A few reasons to knock out your Pinterest pin before publishing a blog post. First, you don’t want to waste any precious time promoting your new post while waiting on a pin to be created. Have this ready to go so you can drop it on as many boards as possible immediately after publishing.
Second, your pin should really tie into your brand and theme of your other blog post images. For example, the pin should match the styling of your blog post header and feature image. Additionally, if your making a separate image for Facebook, you’ll want the Pinterest pin styling to blend. Creating synergies among your images across social media and your blog post is just good for building your brand.
Third, a tactic I love to implement with all my posts is to hide a Pinterest pin within the post. In order to do this, you need the pin created before publishing a blog post. Making Pinterest friendly posts is a good idea since upwards of 70-80% of traffic can come from social media (namely Pinterest and Facebook).
2. Search Engine Optimization Check
Writing a great post without SEO can be equivalent to swimming against the current. Don’t waste that great content you just created on a poor Google search rank.
Great news though! There are some great plugins out there to make your SEO pursuit easier. One of those is Yoast SEO. Leave the heavy lifting to the plugin folks!
One important ingredient of sound SEO for your post is identifying a keyword(s). There are many free and paid tools out there. I like to use free versions of Semrush or Serpstat. Both of these tools offer a limited version of their paid tool for free. Additionally, you can use Google Trends to identify search word historical trends. Google Trends will also provide you related search queries and topics for each search term you enter. I’ve found Google Trends a nice complementary tool for keyword research.
One simple option that I absolutely tell you to use is the Google search engine. Just try typing in some phrases or keywords. Let Google finish your search for you and make some suggestions. Once you see a phrase or keyword you like hit the return button and scroll down to the bottom of the page. Yes, Google gives you some great suggestions at the bottom that can also be used as potential ideas for keywords (and even post titles.)
3. Readability
You’ll hear me referencing Yoast SEO again here. I do love how this plugin takes some of the thinking out of it for you though. Yoast SEO provides a readability rank for your post using the Flesch Reading Ease test score. The plugin also highlights in your post the use of passive voice, transition words, and paragraph length ( more on this later). I for one will trust the experts on how they deem readability and how this can impact reader engagement and potentially SEO.
One other note on readability that’s an easy one…spellcheck my friends. I’m notorious for thinking I nailed my spelling and come to find out my post’s a hot mess. I’ve read in some blogging articles how people think they don’t have enough time to spellcheck their posts. This one’s too easy to pass up though.

4. Deep Link to Past Posts
Connecting your current post to other posts in your blog is a good SEO practice. The BEST part of deep linking to other posts in your blog is the fact that…your linking to other posts in your blog! Why wouldn’t we want to keep people perusing our own posts and keep them around longer on our website? It’s good for business folks!
Yoast SEO’s (another plug for the plugin, I know) paid version makes linking to past posts SO easy. The plugin adds an area to your post editor sidebar that contains post suggestions you could link to in your current post. You can create a hyperlink in seconds with this feature. Trust me, once you have to jump between posts a few times you’ll be wanting this slick, time-saving feature.
5. Create Feature Image
Here’s a step you might think is OK to skip if your short on time. Resist the temptation. A feature image may not be used in your actual post, but this image shows up in a lot of other places. Facebook, for example, uses the feature image when you create a post in Ad Manager. When you go to your business page and paste your post url the feature image pops up along with your post title and meta data.
If you’re using a post slider on your site, the feature image is used in this as well. Other social media sites also use the feature image when your blog feed is uploaded. Enough said, right? Make sure to build a feature image that fits your brand and is consistent with the theme of your post images.
6. Write a Strong Meta Description
Search engines display a description of your post in their ranking results. Where does that description come from? Your meta description. What’s great is you control the meta description and write it yourself. The meta description should contain your keyword and be 160 characters. If you choose to not fill this out, Google will do it for you by choosing an excerpt from your post. Don’t leave this to chance.
Last point on the meta description. If you haven’t done so already, you should enable “Rich Pins” on your Pinterest business account. When rich pins are enabled on your account Pinterest will pull additional information from the pin url that you add to the image. Where does that extra information come from? You guessed it…your meta description.
7. Write a Strong Title
Did you include your keyword in the post title? Keyword inclusion in the post title is SEO friendly because it immediately tells the reader what your post is about.
Consider adding other phrases, keywords, or target audience groups to the title. Who are you speaking to with this post? Bring them in right away with a strong title that catches their attention.
Another point on your title. Pinterest will include the title from your post immediately below the pin in bold writing. Keywords in the title are good for Pinterest SEO.
I’ll share an interesting tool to consider when writing a title for your post (and equally conducting keyword research). The tool is called AnswerThePublic.com. Keep in mind, this isn’t the end all be all for writing a post title, but it’s a slick way to give you some ideas. The tool produces tons of questions a person might type into Google or Bing search engines related to their topic of interest. This information may ultimately help you formulate a strong title. Check it out!

8. Add Alt Text to Images
Pinterest automatically includes metadata (if you have rich pins enabled) on every new pin you create. Only when you click on a pin for a closeup will you see the meta description though.
The alt text (description you add to your images) is also viewable when you click a pin for closeup. The alt text is yet another opportunity for you to control the description on your pin and add some great keywords.
Cash in on these great opportunities to load up your pins with keywords and descriptions that will drive traffic to your site!
Where do you add the alt text? Go into your media manager and select the image. You’ll immediately see the section where you enter alt text. You can also do this from the post by hitting the edit button and adding the alt text.
9. Call to Action
Pose a question to your readers at the end of your post. You want to engage them for further discussion or get them to comment. In sales terms, this is your “close”. Close for something actionable. Ask the reader to do something in response to your post.
10. High Keyword Density
OK, another shameless plug for Yoast SEO (or most SEO plugins for that matter). Yoast keeps a count of your keyword usage throughout your post. By all means find ways to get yourself the “green light” on keyword distribution throughout your post. Good for SEO, good for you my friends!
If your SEO plugin allows it, make sure and take advantage of adding extra keywords to your post. Only if it makes sense of course. You don’t want to put in keywords that don’t make sense for your content.
11. Short Slug (no stop words)
A slug makes up the portion of your url that identifies your specific post. The default for your slug is the title of your post. Long slugs are no good for SEO. You should shorten the slug down to your primary keyword or something similar if possible. Since your keyword is likely contained in your title this should be a simple process.
Make sure your slug contain no stop words. Stop words are also something that can weaken your SEO. Easy thing to fix.
12. Place Ad Code and Affiliate Code
There are plugins out there that can place your ad code within posts for you. I get it. I also know that affiliate codes can be done in the same way. You can put them into your theme or a text widget to happen throughout your website.
I’m a bit of a control freak on how things look. I’ve seen too many times where the code gets placed in awkward spots that aesthetically looks bad. I may not want the same affiliate link on every page in the sidebar.
What I do instead is hand place the Google Adsense code exactly where I want it in my posts. I do the same with affiliate advertisements. Yes, this is a bit more tedious but the final product is worth it in the end. Just cut and paste the code from a previous post and you’ll knock the Adsense code out in no time at all.
One last note, there’s a WordPress plugin called Custom Sidebars that allows you to customize your sidebar on EVERY page. If your concerned about an advertisement that shows up on your sidebar throughout your website you can fix the problem with this plugin.
13. Check Links
Probably a no-brainer, but make a quick run through on all your links you’ve added to your post. Nothing worse than a link that doesn’t work, or doesn’t open in a separate window (if that’s what you wanted).

14. Create Facebook Post Image and Excerpt
Right after we publish a post we want the post to go on Facebook. I know that you can have plugins automatically publish your post to Facebook and Twitter, but I’ll again say I’m a control freak over how things look. I’ve run into some issues with how content gets transferred to Facebook. I have to delete the post and then manually enter it.
Instead, I’ll create a more personal excerpt for the Facebook post since it’s going to followers of our Facebook page. I’ll also make a custom image. If you’re using a tall, vertical image as your feature image on WordPress this may not transfer nicely to Facebook. So I use Canva and make a 1200 x 630 pixel image for Facebook.
I also recommend leaving text off your Facebook image. Too much text can limit your impressions if you end up using this image in a Facebook Ad. Additionally, too much text may cause your Facebook Ad to not get approved.
Keep it simple. Just the image. Your Facebook post (or advertisement) will contain the title, meta description, and your own personal description anyways.
15. Use Sub Headings to Break Up Text
Subheading (or H1, H2, H3…) text is another check you’ll want to make for your post. Add subheadings to break up long sections of text. Readers have a short attention span and you can address this by breaking up long sections of text with big headings to keep their attention (and organize your content more efficiently).
16. Change Title Text
Just like alt text, the title text for your images impact SEO for your post. When you access your image from the media folder you’ll see the title text section. It usually has some wild number and code filled name followed by “.png” or “.jpg”. Just change the name to a keyword for your post.
17. Add Categories and Tags to Organize Content
Index or organize your posts for readers. Categories and tags make finding your content easier for your readers. Be thinking about this now before your content gets so large that the task will become difficult.
Categories are larger umbrellas for your content. What are the major areas you focus on with your blog posts?
Tags fit under the umbrellas. Tags create a bit more depth to your content. A reader can click a tag and find other content on your site with the same tag (they could also click on a category to do the same thing).
Hit the Publish Button!
There you have it. A pretty inclusive list of everything we think through before publishing a blog post. I hope this list is helpful to you as you begin your new blogs.
Let me know your other suggestions, ideas, and feedback. I always want to learn more tips and tricks from bloggers out there!
Happy Blogging!
Jason